Table of contents

How to use create-web3-dapp with Dynamic

https://www.dynamic.xyz/blog/create-web3-dapp-dynamic
How to use create-web3-dapp with Dynamic
Download

Introduction

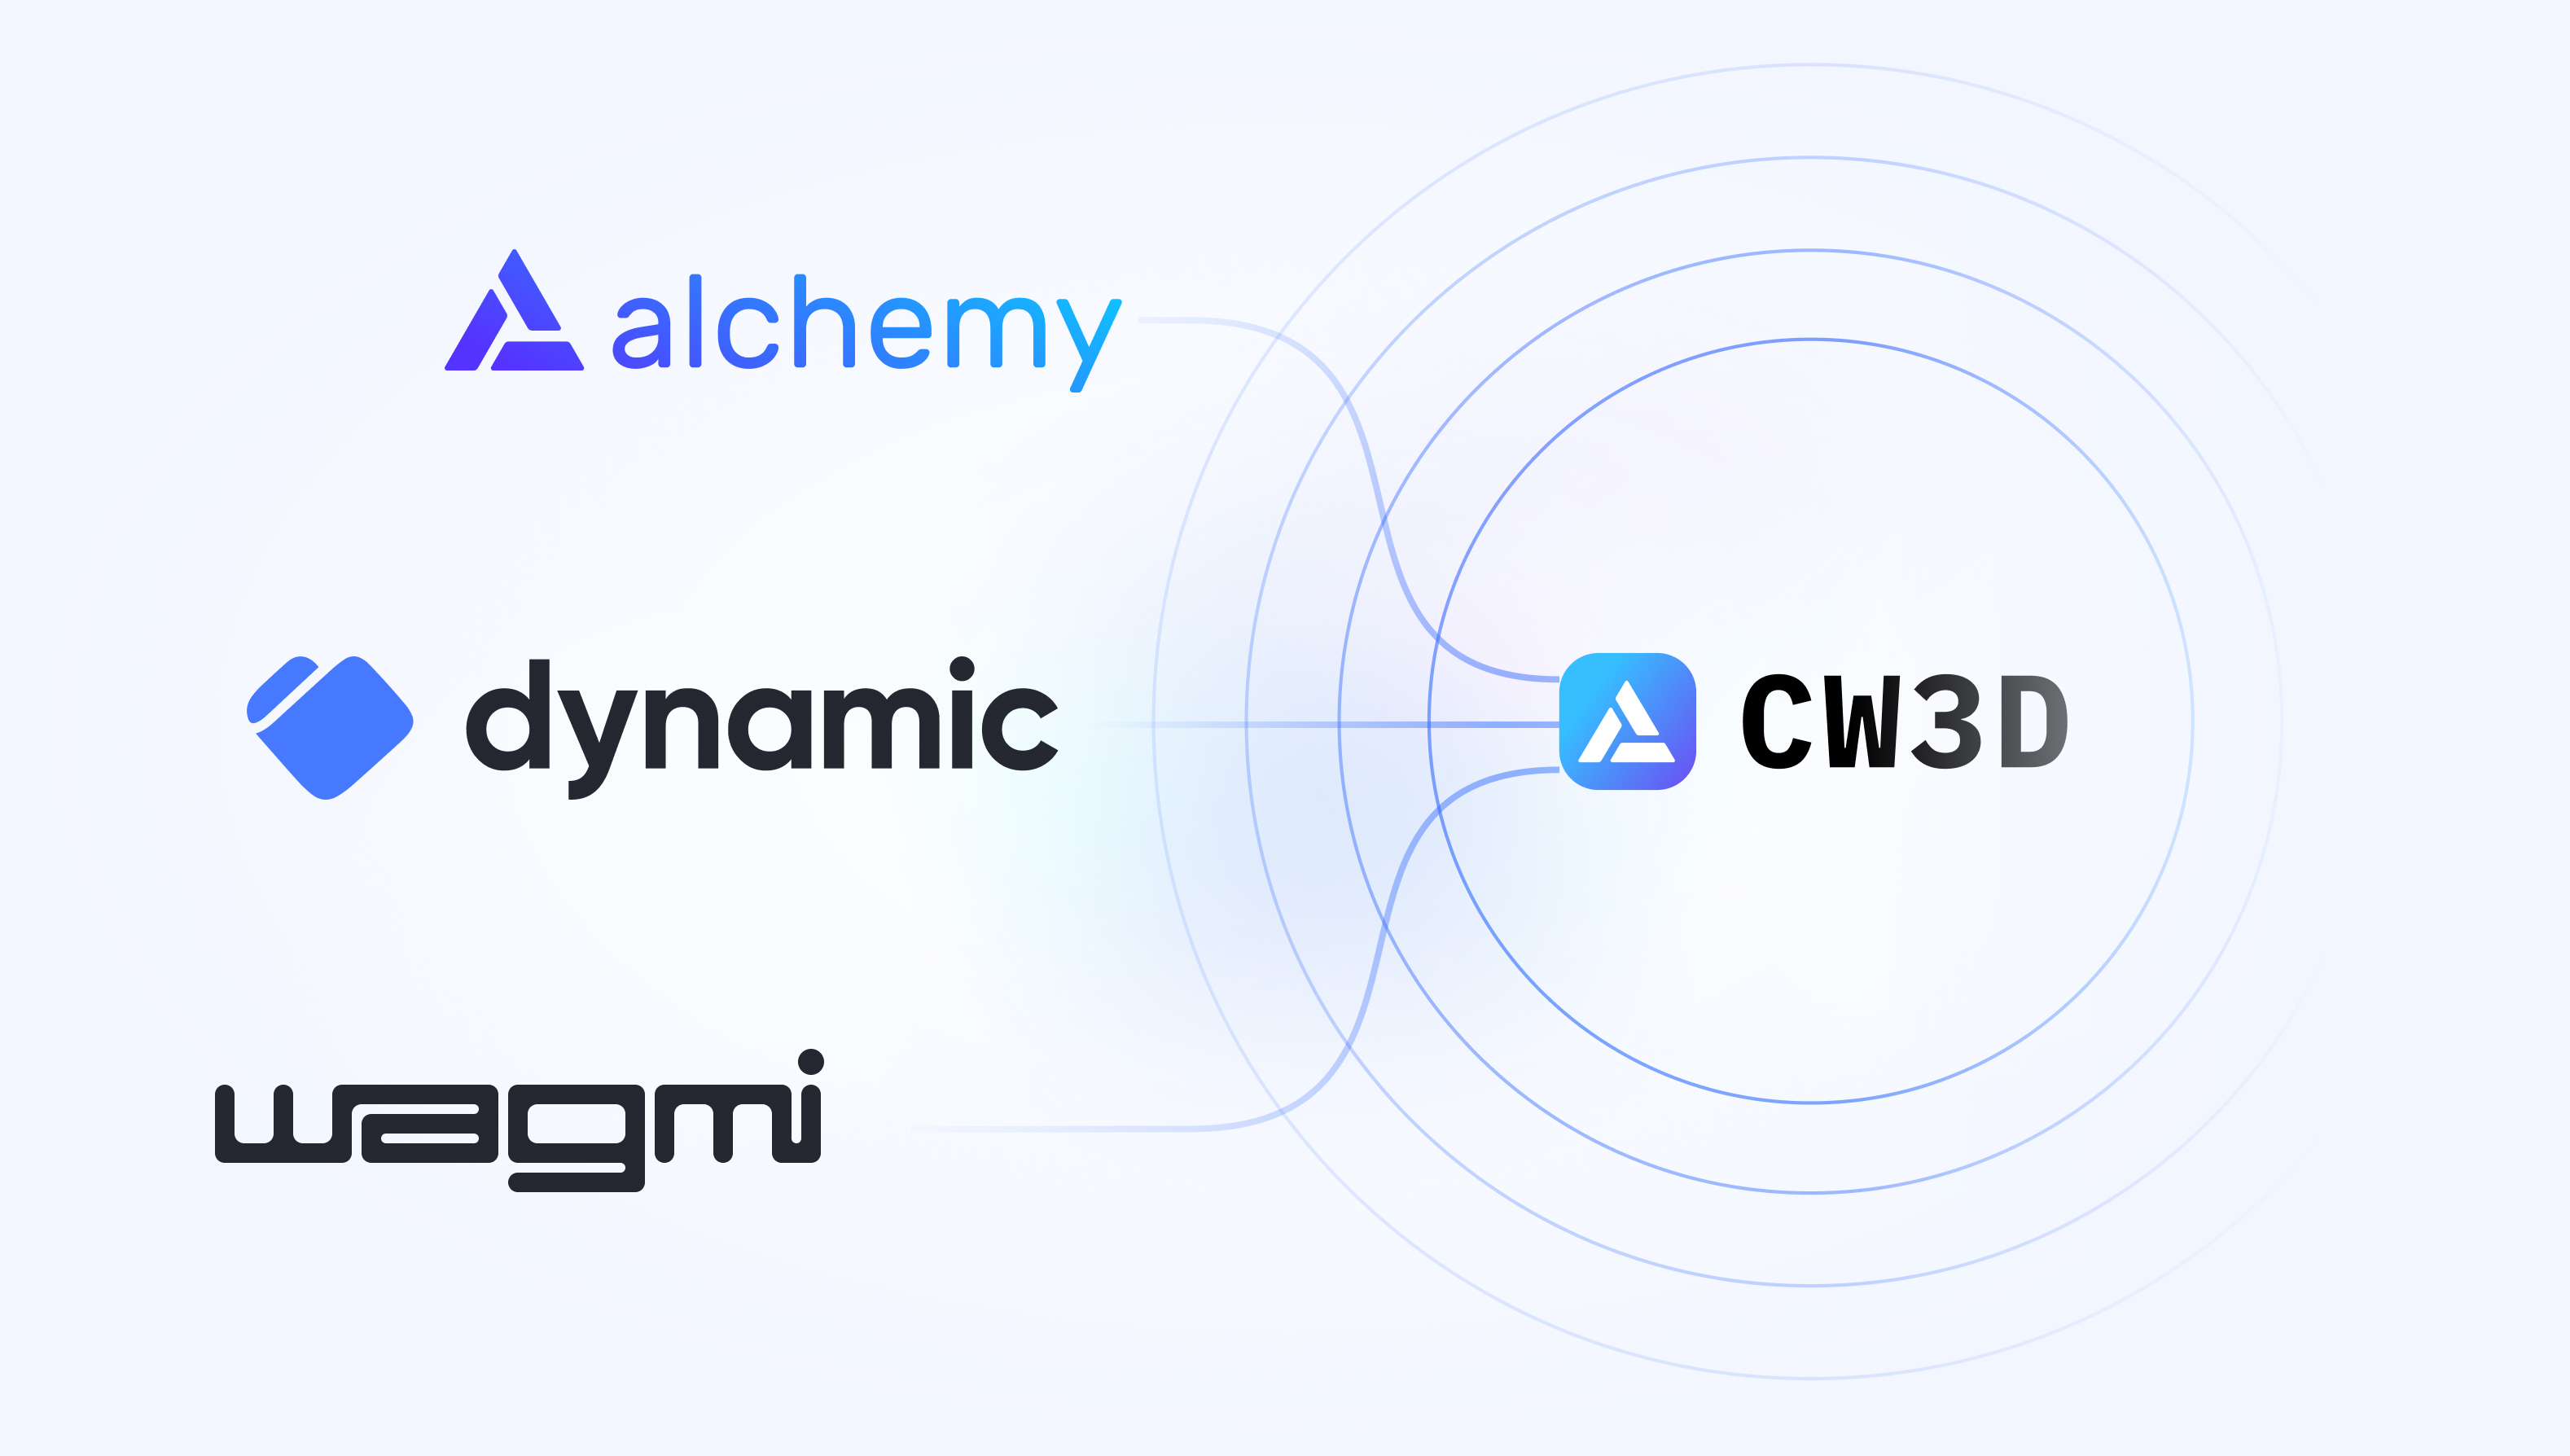
You’ve already heard about our Wagmi integration, but today we will put it to the test by implementing Dynamic straight into a default implementation of create-web3-dapp from Alchemy (cw3d) in three steps! Cw3d is fantastic to use as a scaffold to get going quickly with a dapp. If you want to learn more about cw3d and how to kickstart your web3 dapps in less than 3 minutes, check out the official docs.

Pre-requisites

1. Make sure you have a Dynamic account and know your environment ID (found in your developer section in the Dynamic dashboard)

2. Set up a fresh default instance of create-web3-dapp locally by running the npx command (see code snippet below).

npx create-web3-dapp@latest

For this tutorial, we recommend the minimal installation, like the options chosen here:

✔ Project name … my-create-web3-dapp
✔ Choose how to start › Boilerplates dapp
✔ Do you want to use Typescript? … Javascript / Typescript
✔ Choose your chain › Ethereum
✔ [Optional] Choose your blockchain development environment: › Skip
✔ Do you already have an Alchemy account? … no / yes

Live Demo Sandbox

Everything we're about to cover can be found in this live Codesandbox (you will need to add your own env vars in .env)

Step-by-Step Guide

1. With whatever package manager you’re comfortable with, uninstall and update the following:

npm uninstall connectkit && npm i viem@1.1.7 wagmi@1.3.0 @wagmi/core@1.3.0

Then install the following:

npm i @dynamic-labs/sdk-react@viem @dynamic-labs/wagmi-connector@viem

2. In /app/layout.tsx, overwrite the whole file with the following code (paste in your own environment ID):


"use client";

import { DynamicContextProvider } from "@dynamic-labs/sdk-react";
import { DynamicWagmiConnector } from "@dynamic-labs/wagmi-connector";

import Navbar from "@/components/instructionsComponent/navigation/navbar";
import Footer from "@/components/instructionsComponent/navigation/footer";

export default function RootLayout({
  children,
}: {
  children: React.ReactNode;
}) {
  return (
    <html lang="en">
      <DynamicContextProvider
        settings={{
          environmentId: process.env.NEXT_PUBLIC_DYNAMIC_ENVIRONMENT_ID || "",
        }}
      >
      <DynamicWagmiConnector>
          <body >
            <div style={{ display: "flex", flexDirection: "column", minHeight: "105vh" }}>
              <Navbar />
              <div style={{flexGrow: 1}}>{children}</div>
              <Footer />
            </div>
          </body>
      </DynamicWagmiConnector>
      </DynamicContextProvider>
    </html>
  );
}


In /components/navigation/navbar/index.tsx, overwrite the whole file with the following code:


"use client";

import {DynamicWidget } from "@dynamic-labs/sdk-react";

import styles from "./Navbar.module.css";

export default function Navbar() {
  return (
    <nav className={styles.navbar}>
      <a href="https://alchemy.com/?a=create-web3-dapp" target={"_blank"}>
        <p>create-web3-dapp</p>
      </a>
      <DynamicWidget />
    </nav>
  );
}


As you can see, everything is very similar to what you’re pasting over. In fact, it comes in at even less code for even more functionality.

3. You’re done! You can now create a new component, and then add components from create-web3-dapp to that using these guides, and they will work just as soon as you access the primary wallet address using the useDynamicContext hook, then pass walletAddress={address} to your create-web3-dapp components as a prop. Here is an example you can paste over /app/page.tsx

'use client'

import { useDynamicContext } from "@dynamic-labs/sdk-react";

import InstructionsComponent from "@/components/instructionsComponent";
import NftGallery from "@/components/nftGalleryComponent";
import styles from "./page.module.css";
import "./globals.css";

export default function Home() {
  const { primaryWallet } = useDynamicContext();
  const address = primaryWallet?.address;

  return (
    <main className={styles.main}>
      <NftGallery pageSize={5} walletAddress={address} collectionAddress={"0xBC4CA0EdA7647A8aB7C2061c2E118A18a936f13D"} chain={"ETH_MAINNET"}></NftGallery>
      <InstructionsComponent></InstructionsComponent>
    </main>
  );
}


How it works

All child-components get wrapped in the DynamicContextProvider, making sure all components have access to Dynamic functionality.

The next layer is the DynamicWagmiConnector component wrapper, which connects up Dynamic to Wagmi so you can just use Wagmi as expected.

We then use the DynamicWidget component to display the Connect Wallet button and also a bar to show the users' current connected status.

Now you can use the useAccount hook from Wagmi to fetch the currently connected wallet address which can be used elsewhere i.e. in TokensBalanceDisplay.

Learn more

Wondering where to go from here? You can start to customize the design of the widget, capture more optional information from users, and much more!

What's next

In the next post, we will enhance our app by adding NFT gating to login!

Share this article

https://www.dynamic.xyz/blog/create-web3-dapp-dynamic
Matthew Foyle

Matt runs Developer Experience at Dynamic, and has worked at Twilio & Algolia among other developer tooling companies.

Related articles

Dynamic takes minutes to set up

(Oh, and we also offer a free multi-chain wallet adapter)

Get started